Looking to learn how to build your own knife throwing target? Look no further. Whether you want to practice for knife throwing leagues or just want a fun backyard activity, this guide has you covered.
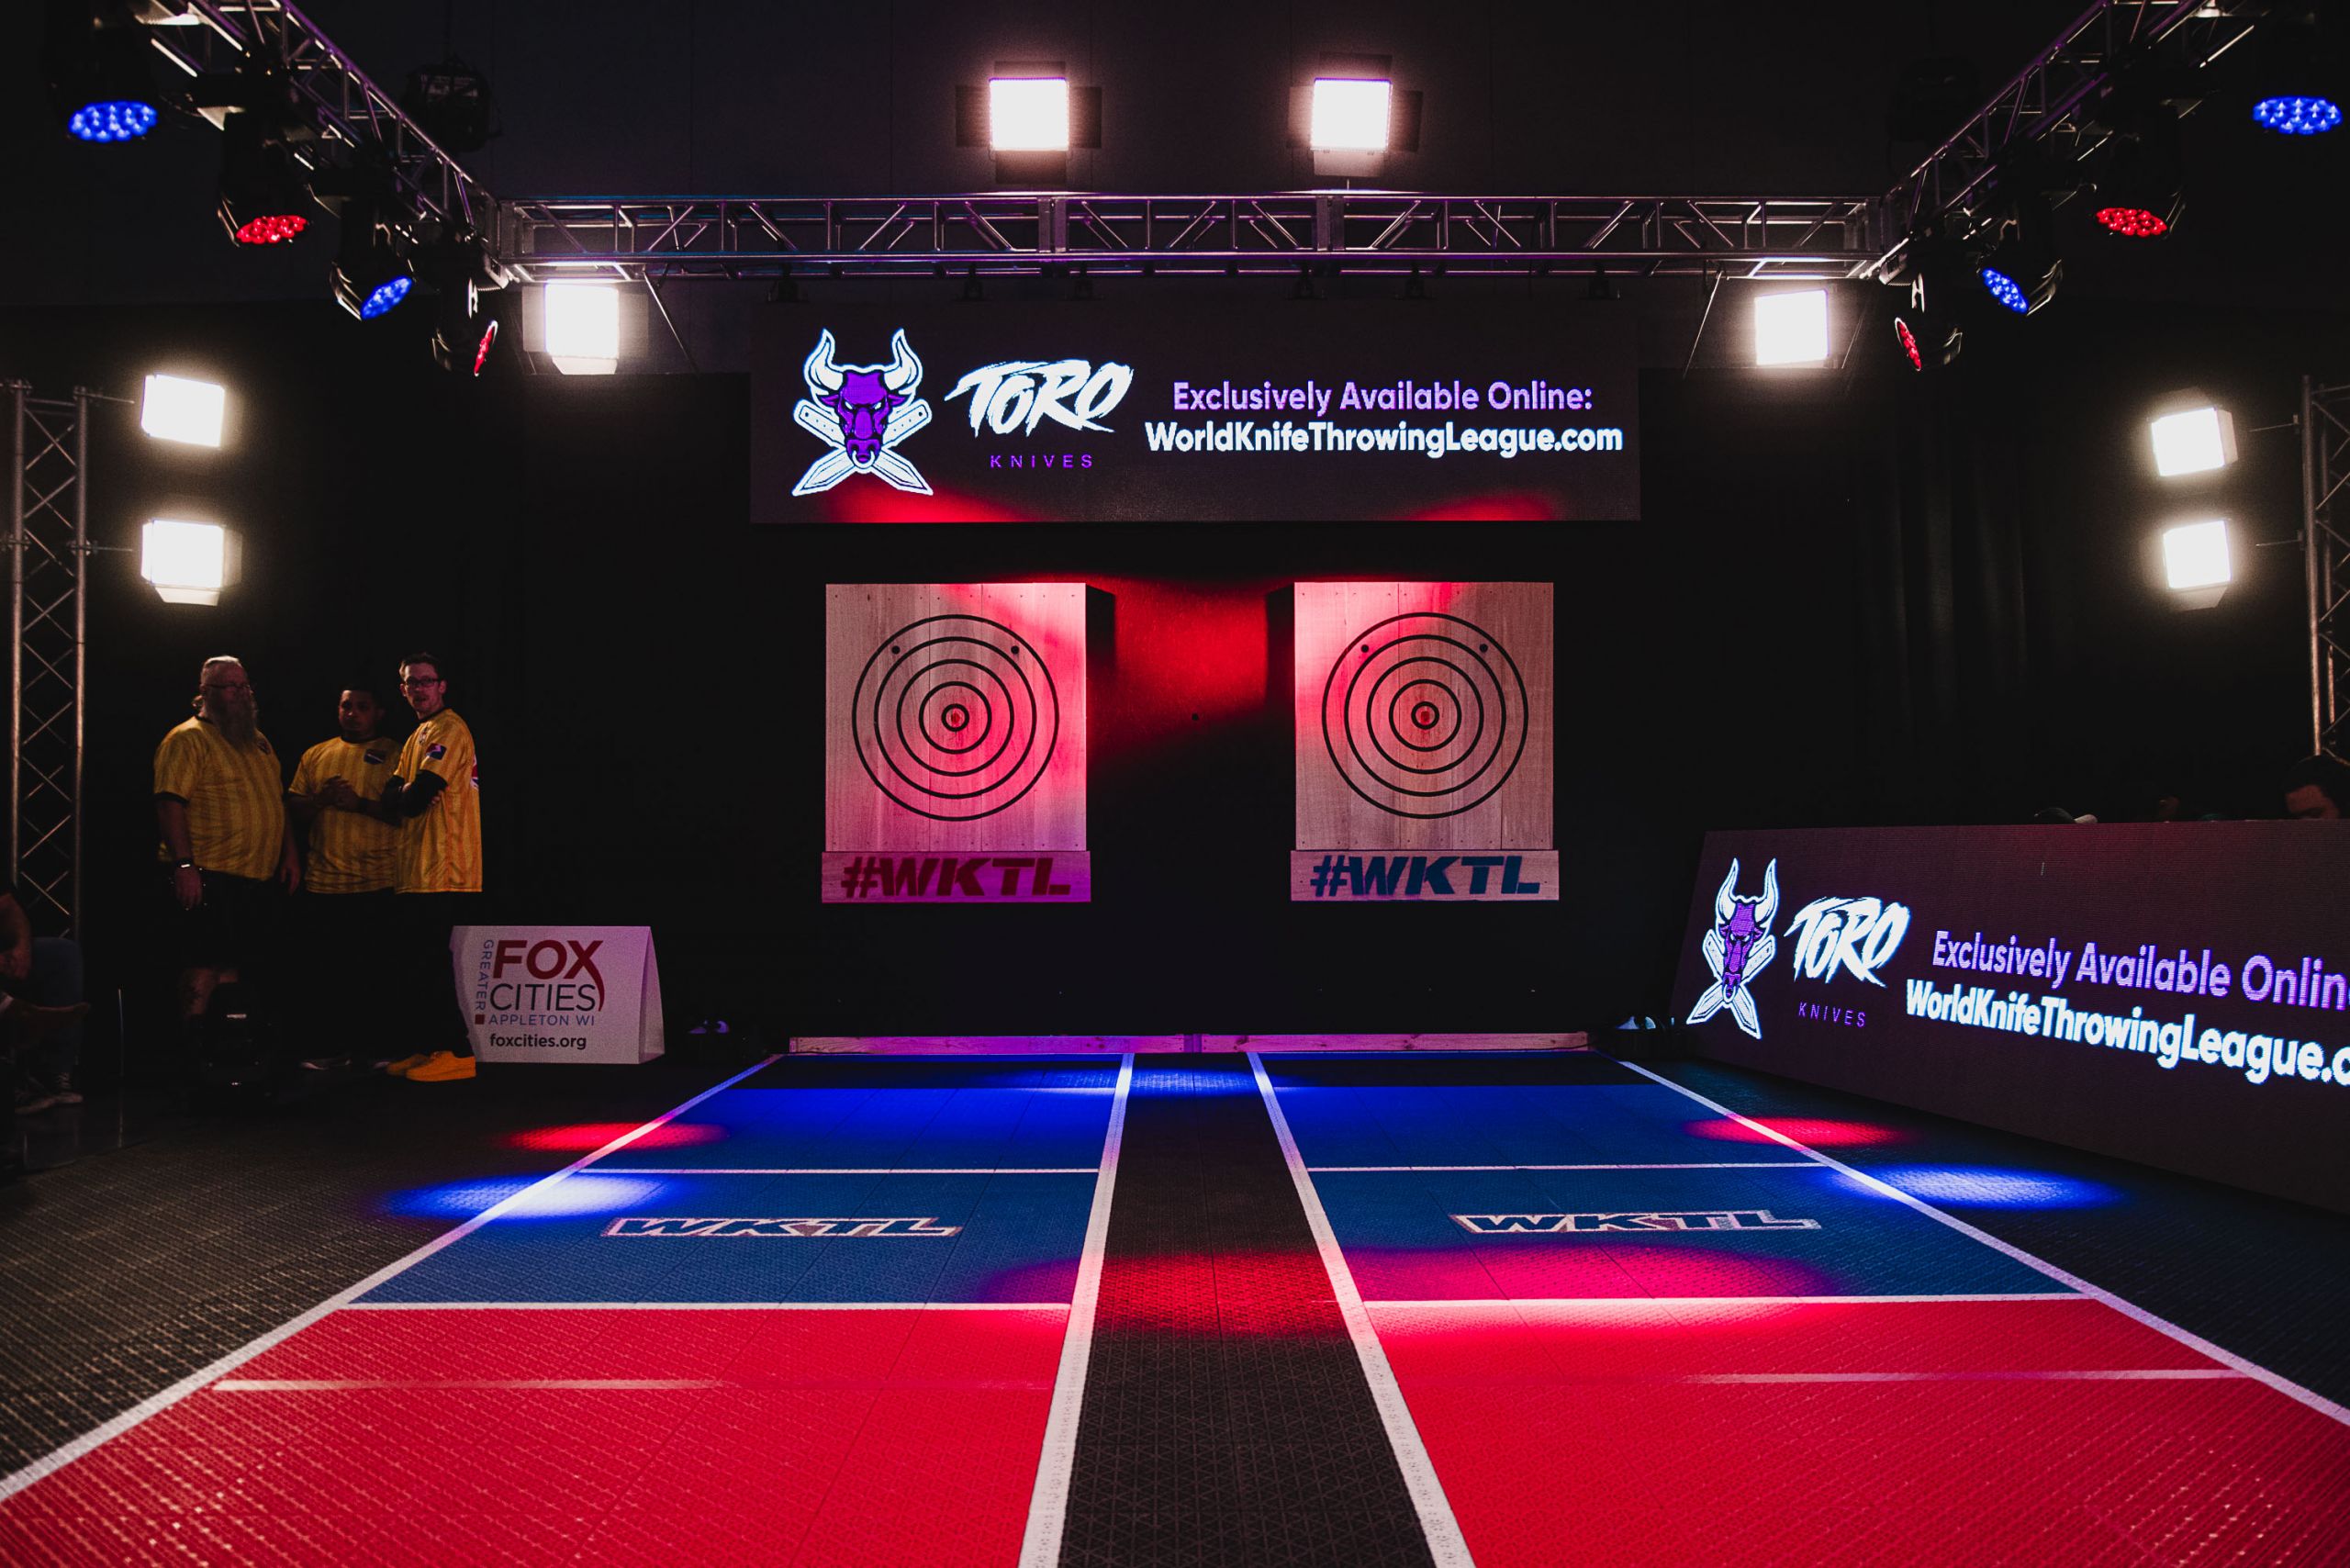
Built properly, this target meets World Knife Throwing League specifications and will match the targets found at competitions and at many affiliated venues.
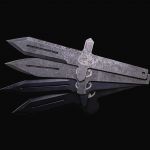
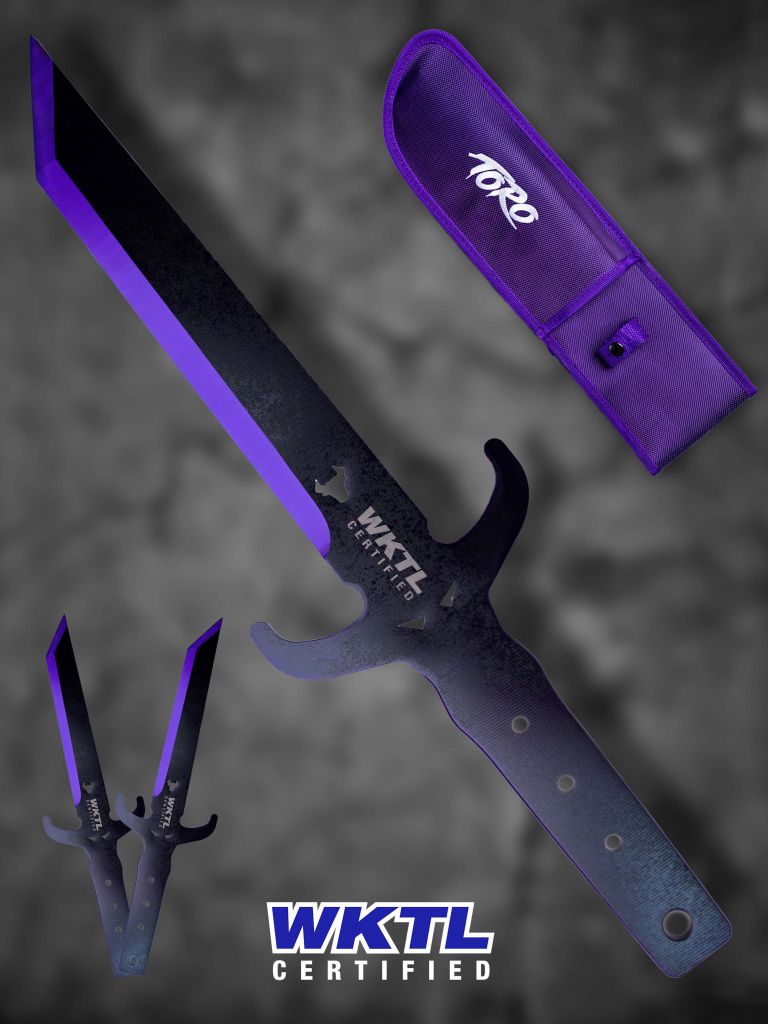
Of course, you’re going to need something to throw at it. Take a look at WKTL Throwing Knives or Toro Knives (the exclusive provider of WKTL Certified Knives). You’ll also need markers and a stencil to mark the target once it’s built.
Want the build plans as a PDF?
We’ll email you the full measured drawings so you can take them to the lumber yard.
Materials List
Everything below builds one freestanding target. Lumber dimensions are nominal — a variance is fine, so long as the finished target meets specification.
- 2 bottom lengths — 2″x4″x72″
- 3 bottom spreader lengths (back/front/mid) — 2″x4″x45″
- 2 upright vertical lengths — 2″x4″x84″
- 2 diagonal support beam lengths — 2″x4″x88″
- 2 upright vertical length spreaders — 2″x4″x42″
- 2 filler lengths — approx. 2″x4″x8″ (use offcuts from other lengths)
- 1 front base/ledge board — 2″x10″x4′
- 5 target backboards — 2″x10″x4′
- 5 target front boards — 2″x10″x4′
- 3″ deck screws (100 count)
- Measuring tape
- Level
- Drill
- 1 official WKTL target stencil
- Official WKTL markers — 1 of each colour
Start Your Own Venue & Leagues
Rec centres, backyards, garages and other non-commercial spaces can host sanctioned WKTL leagues without the commercial overhead. If you are building a target at home, you are already most of the way there.
Watch the Build
Step-by-Step Guide
Steps 5 and 6 are easier with a second pair of hands.
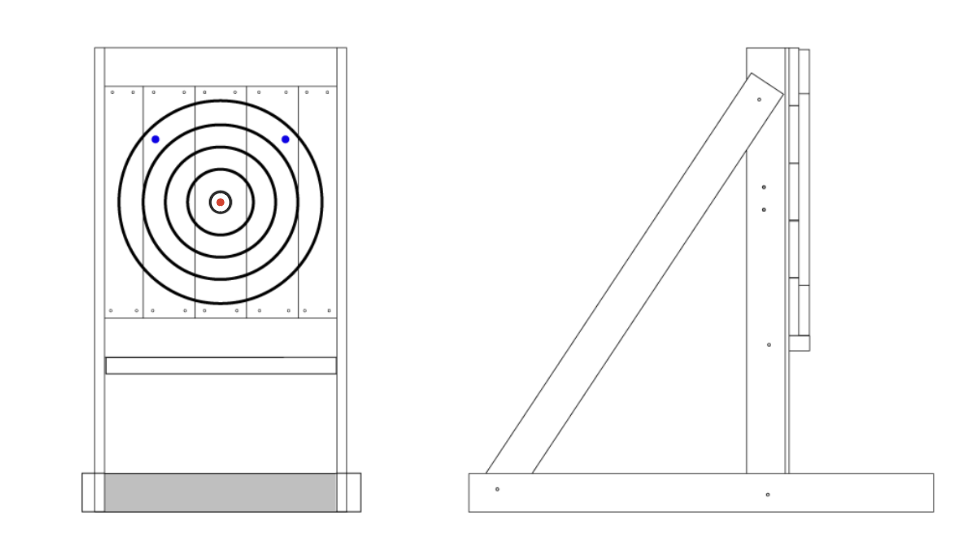
Screw the front and back spreaders to the ends of the bottom lengths.
Screw a spreader approximately in the centre of the bottom lengths.
Screw one of the upright vertical length spreaders to the top of the vertical lengths. It should sit flush with the front of the vertical lengths.
Screw the other upright vertical length spreader to the vertical lengths. The top of the spreader should be 3 feet (36 inches) from the bottom of the vertical lengths, and it should stick out 1 1/2 inches to the front of them — the width of your 2″x10″x4′ backboard.
Screw the vertical lengths to the inside of the bottom lengths. The centre of the vertical lengths should be 12 inches from the front of the bottom lengths.
Pro tip — use your level to make sure the verticals are straight.
Screw the diagonal support lengths first to the back of the bottom lengths (inside them), then to the inside of the vertical lengths.
Screw the filler lengths to the front-facing part of the vertical lengths, flush to the top of the spreader from step 4. Some of the 2×4 filler will stick out to the sides — that’s what the bottom ledger board screws into.
Pro tip — if the overhang bothers you, rip the pieces to 1 1/2 inches wide so they sit flush with the vertical supports.
Screw the ledger board to the front of the uprights. The top of the ledge board should sit at exactly 36 inches from the ground.
Pro tip — use your level to check it is straight across its whole length.
Screw the target backboards into the frame, horizontally across the front of the target.
Find the centre point of your target, line it up with the centre of one of your front target boards, and screw the boards into the backboard. Keep going outwards from that centre board.
Use the stencil to draw on your target. Follow the height measurements for WKTL targets in Section G (Targets and Lanes) of the rules.
Using the WKTL Stencil
Getting the Right Equipment
The Ultimate Starter Kit
New to knife throwing? The WKTL Ultimate Starter Kit is the quickest way in. It is curated for people just getting started, and it includes everything you need to set up at home and start throwing straight away — boards included, so there is no lumber run.

The kit includes:
- 3 cottonwood boards (36″ x 10″ x 2″)
- 1 official WKTL stencil
- 1 set of refillable markers — black, red and blue
- 1 WKTL knife set of 3
Best Value for New Throwers
Cottonwood is the wood of choice at knife throwing venues — it takes a huge number of throws and lets the blade stick with very little effort thanks to its moisture and soft grain. Buying the boards, stencil, markers and knives together costs less than sourcing them separately, and it is a complete setup with nothing else to buy.
Please note: this product can only ship to US customers.
You’ll need both a stencil and a set of markers to get your target drawn. Buy them separately from the links above, or together in the target builder kit — that bundle includes three markers, one of each colour, plus the newest stencil design.
If you’re practising for leagues, your throwing knives also need to fit within the WKTL rules. Those can be bought directly through WKTL or from Toro Knives.
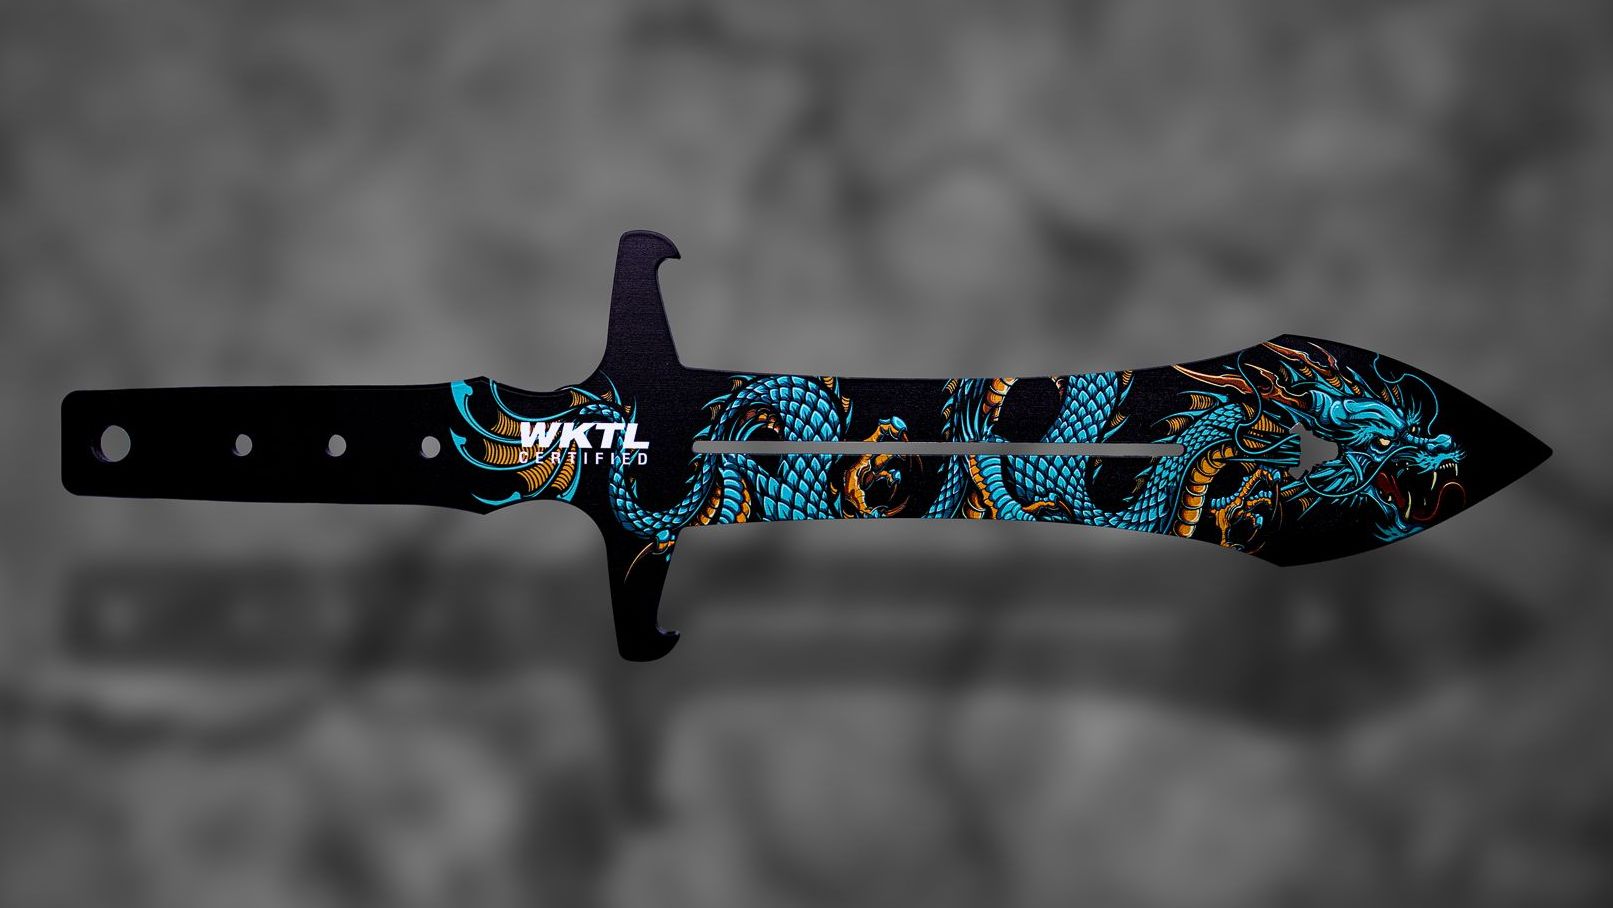
What Throwing Knife is Best for You?
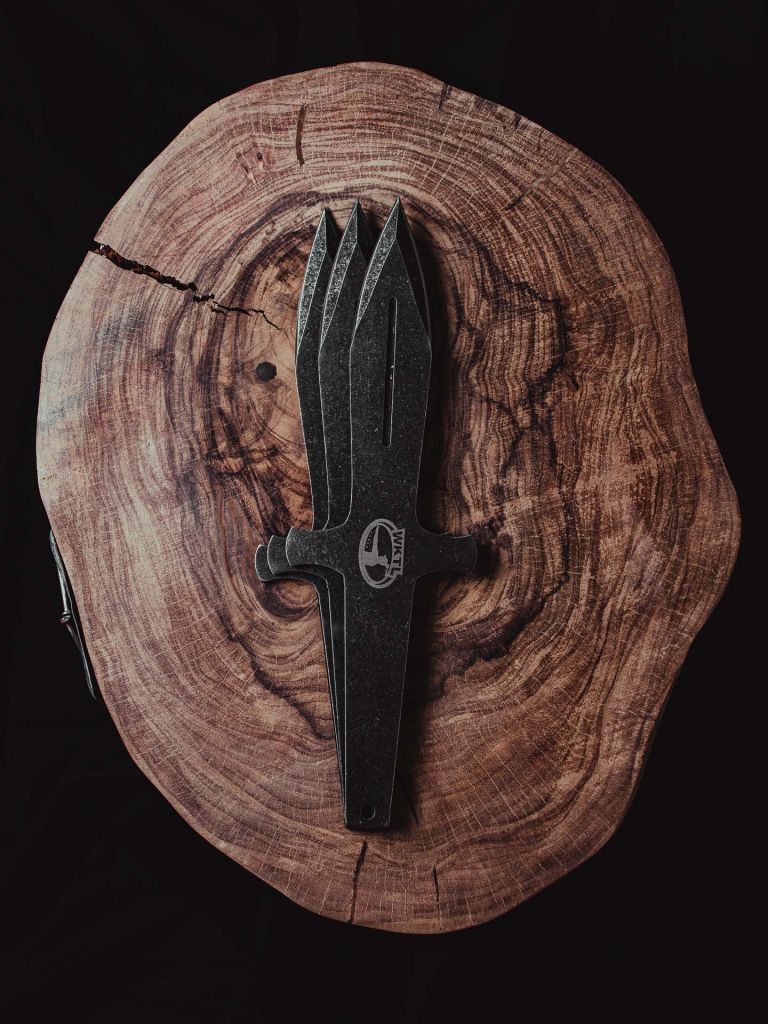
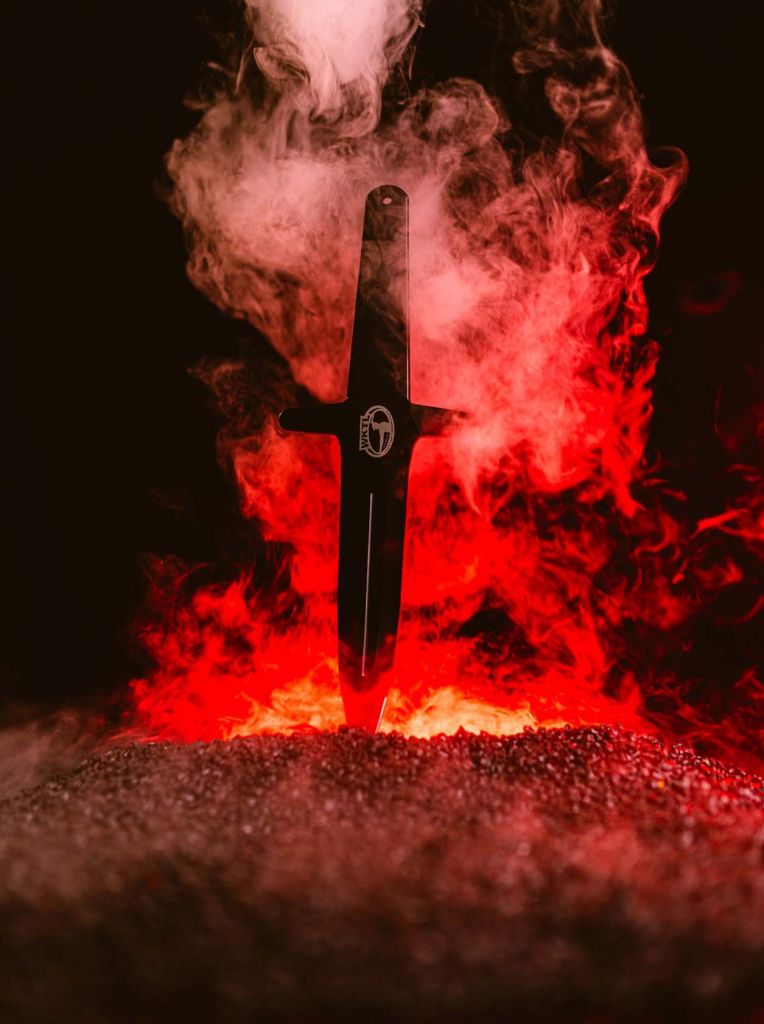
Every throwing knife has characteristics worth weighing up — weight, overall length, thickness, blade length, and whether it fits within competition specifications. We’ve built a resource to help you pick the one that’s right for you. Some of our most popular competition-legal knives are below.
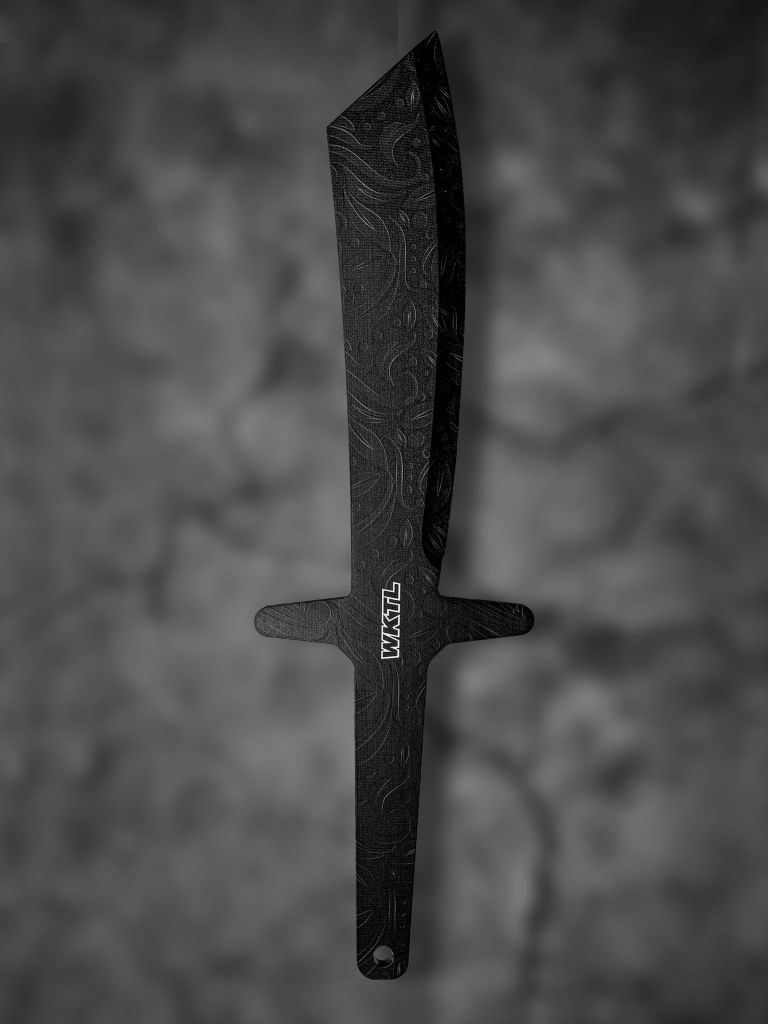
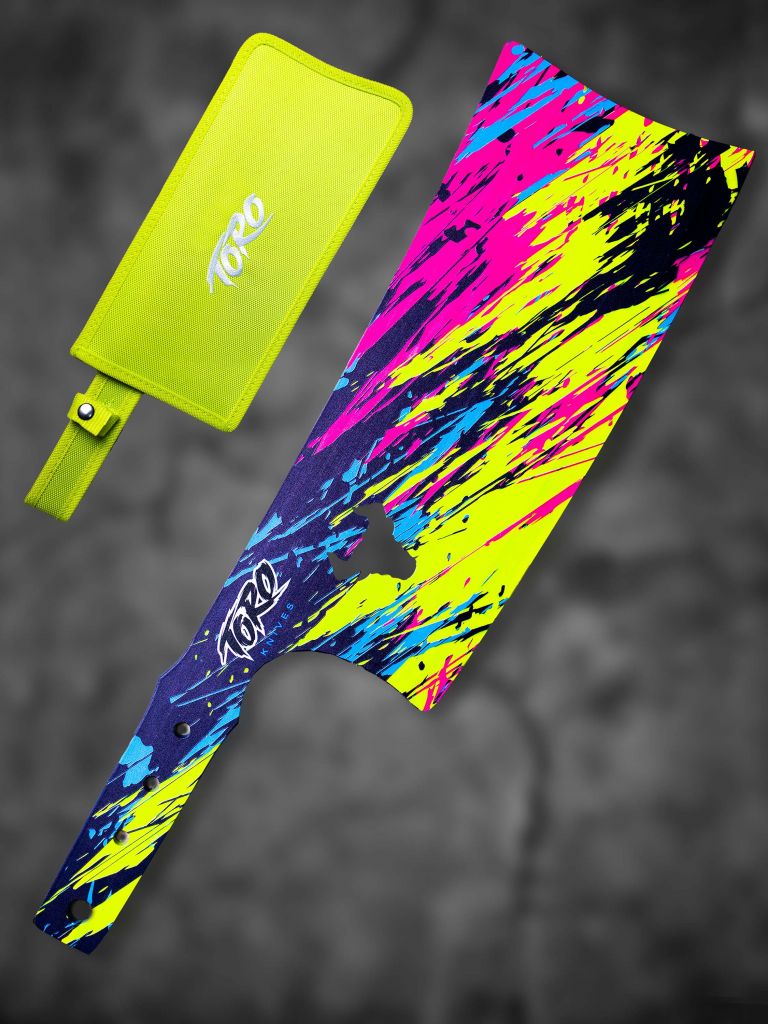
Just for Fun (Not Competition Legal)

Social Media
We hope this guide gets you set up and practising at home. While you do, check out the World Knife Throwing League on Instagram and Facebook, or join our Facebook group for discussion, posts and community stories.